Beacon
Beacon Megabonk – Explained
When you charge a Charge Shrine, Beacon turns it into a healing area.
Inside this zone, you heal every interval for an amount that scales with:
- Your maximum HP
- The number of Beacons you have
Healing per tick is calculated as:
Where
- $ n $ = number of Beacons
- MaxHP = your current maximum health stat
This means:
- 1 Beacon = heal 2.5% of max HP per tick
- 2 Beacons = heal 5% of max HP per tick
- 4 Beacons = heal 10% of max HP per tick
(and so on)
Where
- 8 = base radius
- 2 = radius gained per Beacon
So the more Beacons you have, the larger the healing circle becomes and the more shrines you get in future stages.
Inside this zone, you heal every interval for an amount that scales with:
- Your maximum HP
- The number of Beacons you have
Healing per tick is calculated as:
$$
\text{HealingPerInterval}(n)
=
0.025 \cdot n \cdot \text{MaxHP}
$$
Where
- $ n $ = number of Beacons
- MaxHP = your current maximum health stat
This means:
- 1 Beacon = heal 2.5% of max HP per tick
- 2 Beacons = heal 5% of max HP per tick
- 4 Beacons = heal 10% of max HP per tick
(and so on)
2. Adds extra Charge Shrines in future stages
Each Beacon adds +2 additional Charge Shrines to all future stages.Healing zone radius
The healing area grows with Beacon count:$$
\text{Radius}(n) = 8 + 2n
$$
Where
- 8 = base radius
- 2 = radius gained per Beacon
So the more Beacons you have, the larger the healing circle becomes and the more shrines you get in future stages.
How it Stacks
Beacon stacks linearly in all aspects.

This means:
- No diminishing returns
- Every Beacon increases healing by an additional 2.5% max HP per tick
- 1 Beacon → 10 radius
- 3 Beacons → 14 radius
- 5 Beacons → 18 radius
All effects are purely additive and scale cleanly with item count.
Extra Shrines
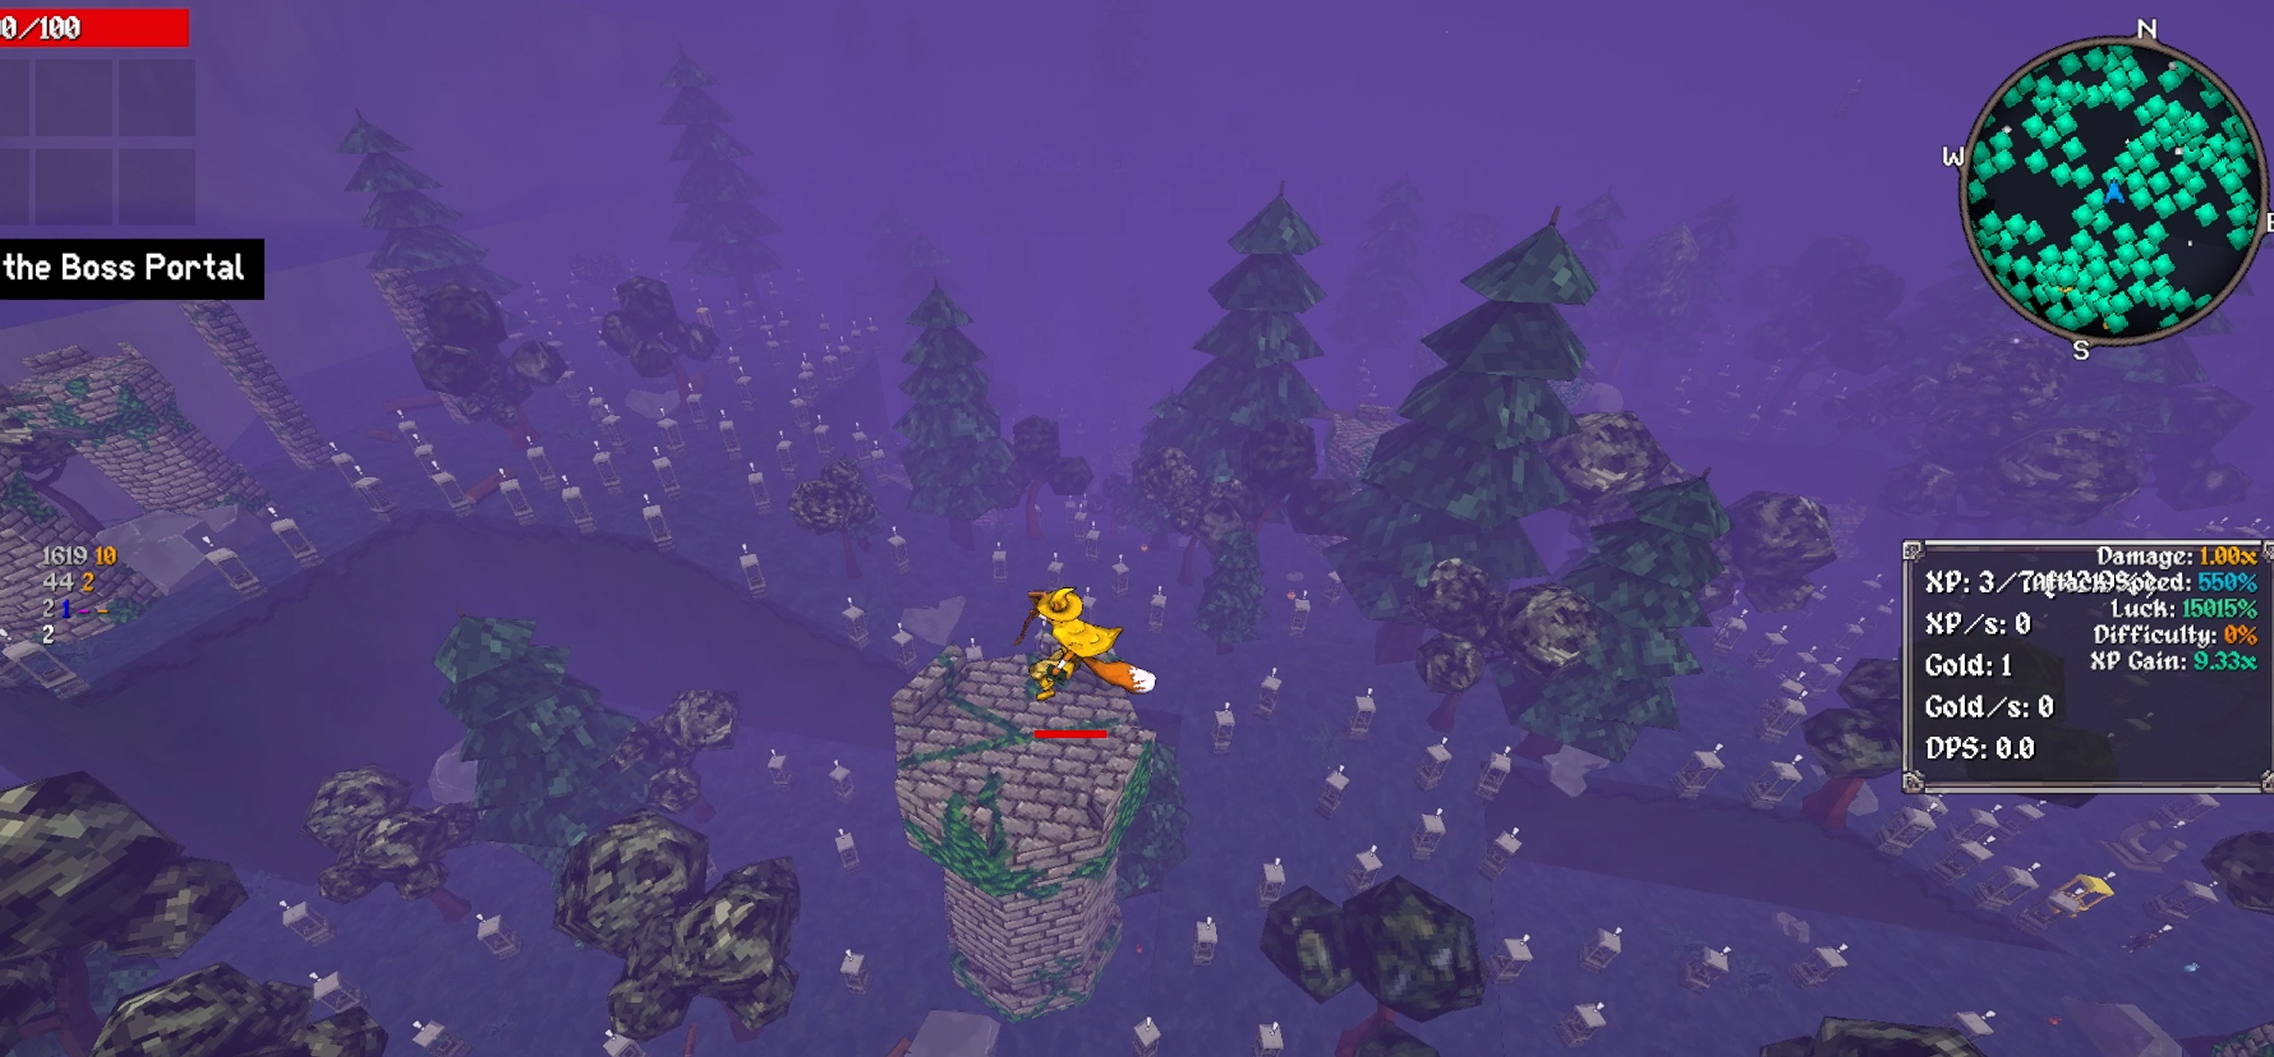
Each Beacon adds exactly +2 extra shrines per future stage. There does not seem to be a cap for this. If there is it would depend on how many can possibly fit on the map. This would be... alot though. Here's an image of me with 1000 beacons.
Healing per interval
Healing increases linearly with both your max HP and number of Beacons:$$
\text{Healing}(n) = 0.025n \cdot \text{MaxHP}
$$
This means:
- No diminishing returns
- Every Beacon increases healing by an additional 2.5% max HP per tick
Healing radius
Also stacks linearly:$$
\text{Radius}(n) = 8 + 2n
$$
- 1 Beacon → 10 radius
- 3 Beacons → 14 radius
- 5 Beacons → 18 radius
All effects are purely additive and scale cleanly with item count.
Comments and replies are paused. We are not reviewing new suggestions or updating this section right now.
No approved comments to show here yet.